Easy VPS Setup and Deployments with Coolify
Saturday, December 14, 2024
If you ever seek an alternative to cloud-based hosting for your web app like Vercel, Coolify could be an option. Ever since I got a VPS from DigitalOcean (psst... I got it free from the GitHub Student benefits), I don't want to waste the opportunity to learn self-hosting on a dedicated server running Linux.
At first, I tried a manual setup by provisioning the server with Node Version Manager, PM2 (a popular daemon process manager for Node.js apps), Nginx for reverse proxy, and Let's Encrypt for SSL. I also set up the server with GitHub Action Workers to create a simple CI/CD pipeline so that whenever I push new changes, the project will rebuild itself.
But after setting up the server completely, there were some caveats:
- Downtime, when rebuilding the project
- Lack of maintainability, since that was my first time setting up a server manually for deployment, and there's no easy way to scale or even host another project inside the same server.
With all those caveats, I resorted to Coolify for an easy, maintainable, and scalable solution if you want to extend or combine multiple VPS(s).
In this post, I’ll demonstrate how easy it is to set up your VPS with Coolify and quickly deploy your apps, regardless of your tech stack. By the way, the site you’re visiting is running on my own VPS with Coolify!
Step 1: Setup Coolify
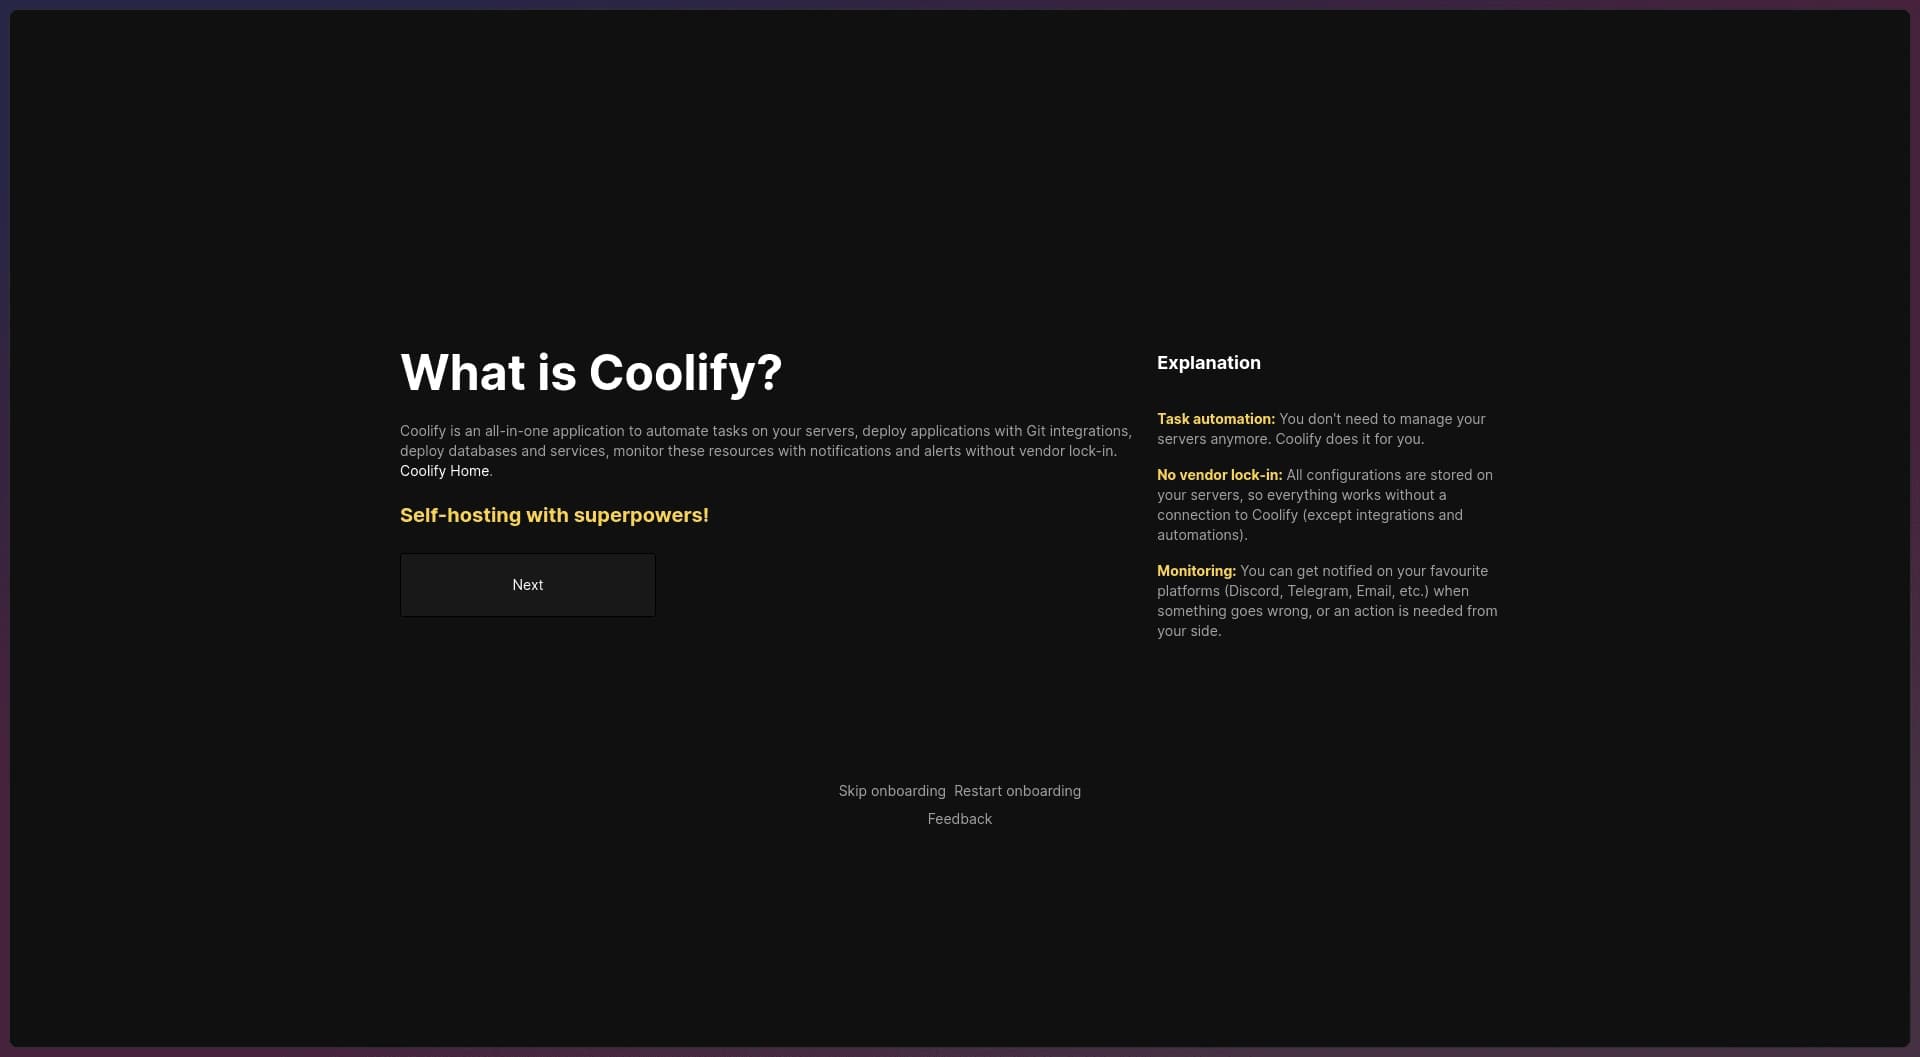
Coolify Onboarding Page
I'm not going to go into the initial setup in Coolify in depth, as the setup is pretty interactive. You just have to go into your server terminal, run some scripts as instructed from Coolify's documentation, and your Coolify instance will be up and running. In fact, after this, you don't have to access your server terminal to configure your server!
After completing the installation process, you’ll be greeted by the Coolify dashboard. From here on, you can manage and set up your server, accessible through the Coolify page hosted on your server's IP at a specific port.
The beauty of this initial setup is that your server is now fully provisioned and ready to serve as your next production server. Coolify offers numerous options for deploying your project and creating a CI/CD pipeline. However, I opted to deploy via a Docker image, using GitHub Actions as the build server to compile my project and GitHub Container Registry to host the Docker image. I found this option ideal since your server only functions as a hosting server, saving a lot of time during the deployment process. Building Docker images can be resource-intensive, especially if your server has limited resources.
Additionally, I believe that containerizing our app is a best practice for ensuring consistent performance across different systems and can act as a testing environment to observe how the app behaves in a production setting.
Step 2: Create a Dockerfile and Github Workflow file
Before we dive into Coolify, we’ve got to set up a Docker image for the app with a Dockerfile. Think of the Dockerfile as a recipe with steps for building and running our image—in this case, our app. I’m no Docker expert, but the goal here is to keep the image size optimized by using a lightweight base image. That way, our final build isn’t massive. (Imagine having a 2GB image for a simple landing page—LOL!)
Here is my Nextjs Dockerfile that only has a ~300MB of image size:
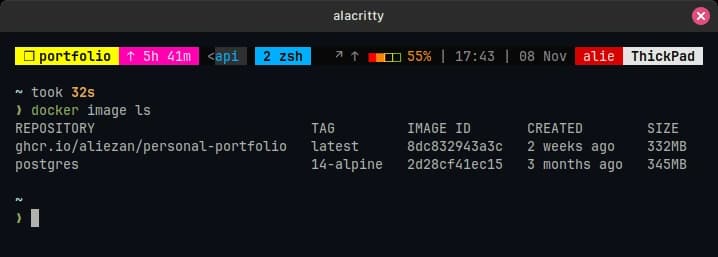
'docker image ls' command showing image size
FROM node:20-alpine AS base
# --- Dependencies ---
FROM base AS deps
RUN apk add --no-cache libc6-compat git
# Setup pnpm environment
RUN echo Building nextjs image with corepack
ENV PNPM_HOME="/pnpm"
ENV PATH="$PNPM_HOME:$PATH"
RUN corepack enable
RUN corepack prepare pnpm@latest --activate
WORKDIR /app
COPY package.json pnpm-lock.yaml .npmrc ./
RUN pnpm install --frozen-lockfile --prefer-frozen-lockfile
# --- Builder ---
FROM base AS builder
RUN corepack enable
RUN corepack prepare pnpm@latest --activate
WORKDIR /app
COPY /app/node_modules ./node_modules
COPY . .
ARG NEXT_PUBLIC_STRAPI_URL
ARG NEXT_PUBLIC_BASE_URL
ENV NEXT_PUBLIC_STRAPI_URL=$NEXT_PUBLIC_STRAPI_URL
ENV NEXT_PUBLIC_BASE_URL=$NEXT_PUBLIC_BASE_URL
ENV NEXT_TELEMETRY_DISABLED=1
RUN pnpm build
RUN cp -r .next/static .next/standalone/.next/static
# --- Production runner ---
FROM base AS runner
# Set correct permissions for nextjs user
RUN addgroup -S nodejs && adduser -S nextjs -G nodejs
WORKDIR /app
# Copy necessary files from builder stage
COPY /app/.next/standalone ./
COPY /app/.next/static ./.next/static
COPY /app/public ./public
USER nextjs
EXPOSE 3000
ENV PORT 3000
ENV HOSTNAME "0.0.0.0"
# Run the nextjs app
CMD ["node", "server.js"]
One of my tricks for image size optimization is setting the Next.js output to
standalone. This way, Next.js trims down dependencies, only keeping the ones
actually needed in production (they really should make this the default option
smh). A smaller final image means faster load times and quicker deployment!
After setting up the Dockerfile, our focus shifts to creating a GitHub workflow file. A workflow file is a YAML file that defines a series of automated steps GitHub Actions will run when certain events occur—in our case, when we push new changes to our repo.
The workflow file is typically located at the root of the project in a folder named .github/workflows. In this example, we’ll set up GitHub Actions to build and push our Docker image to GitHub Container Registry every time we push new changes, using the Dockerfile we configured earlier.
Before we can create the workflow file to make this happen, we’ll need to configure some credentials on our GitHub account. Here’s how:
- Generate a Personal Access Token— this token is essential for authentication and will allow us to push the Docker image to GitHub Container Registry.
Developer Settings in Github
Go to Account Settings > Developer Settings > Personal Access Tokens > Tokens (Classic).
From there, you can generate a token by clicking the dropdown in the top right labeled Generate New Token > Generate Token (Classic).
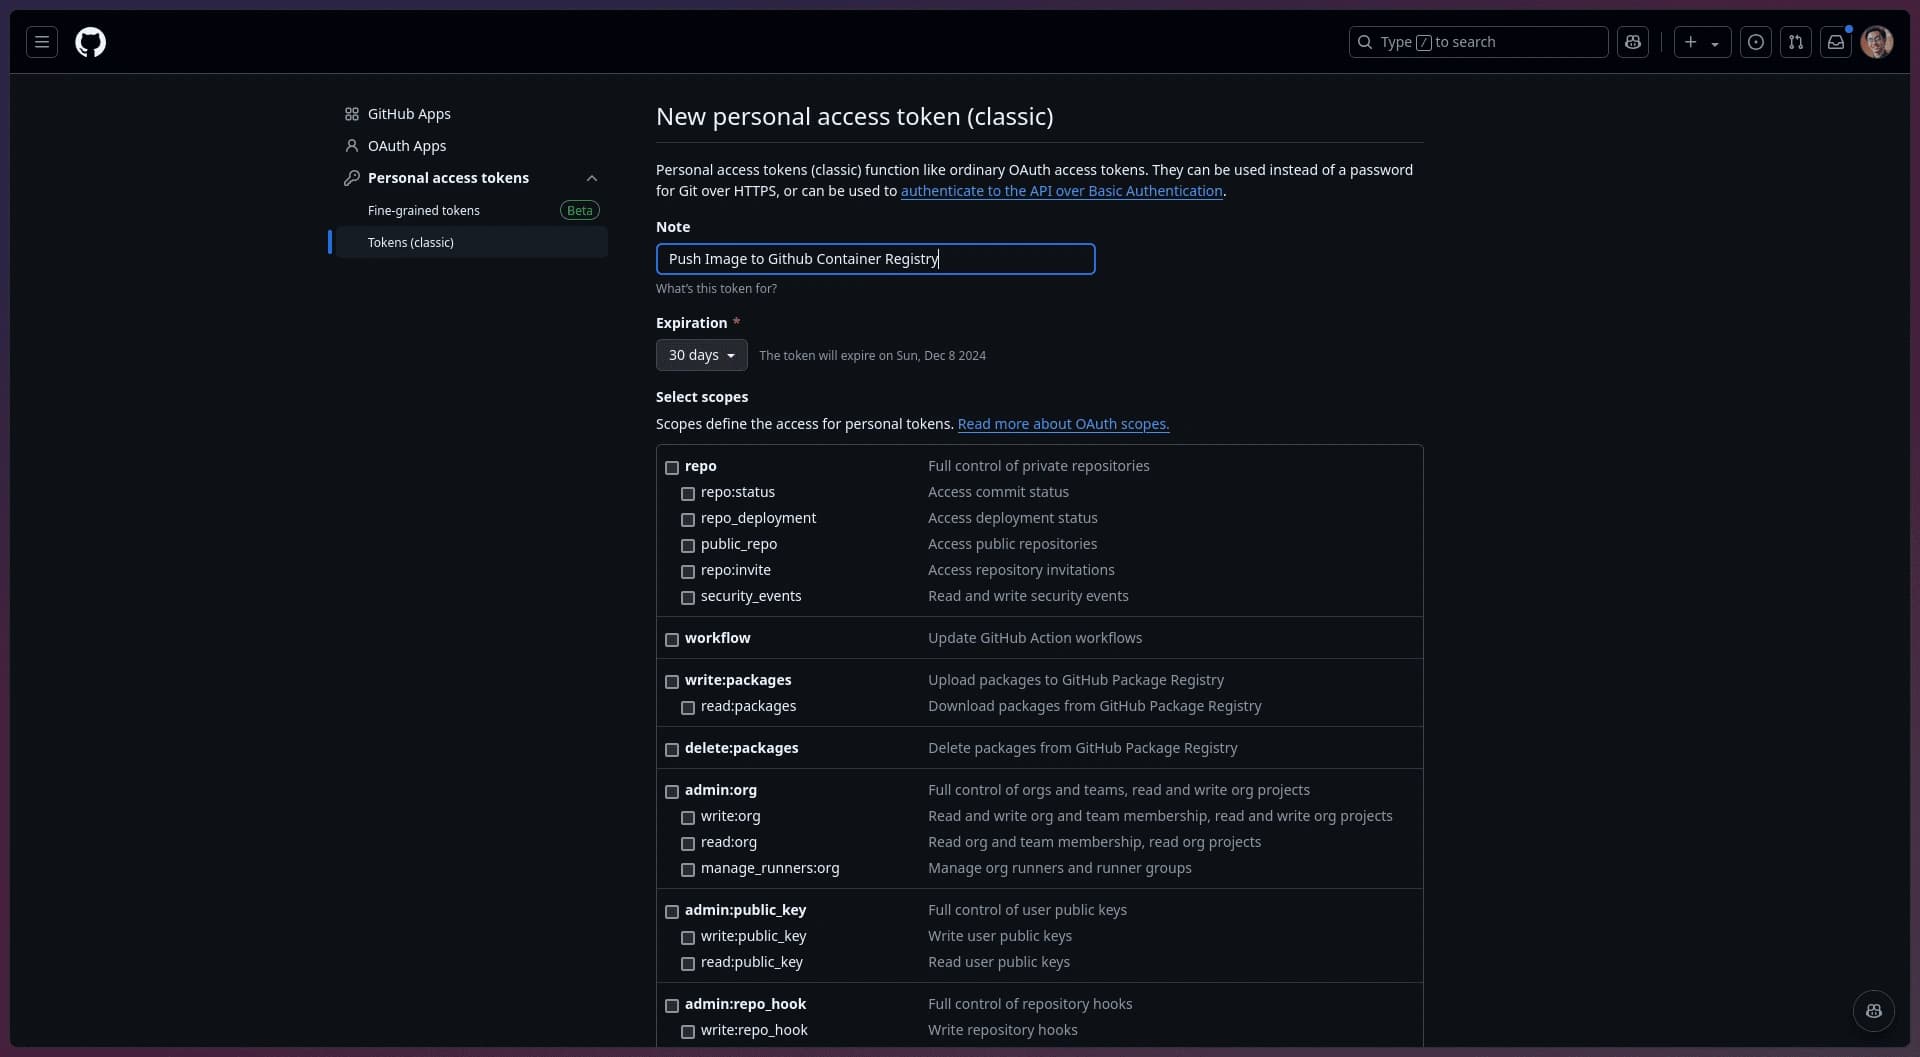
- Next, set the necessary scopes for the token to allow pushing the Docker image.
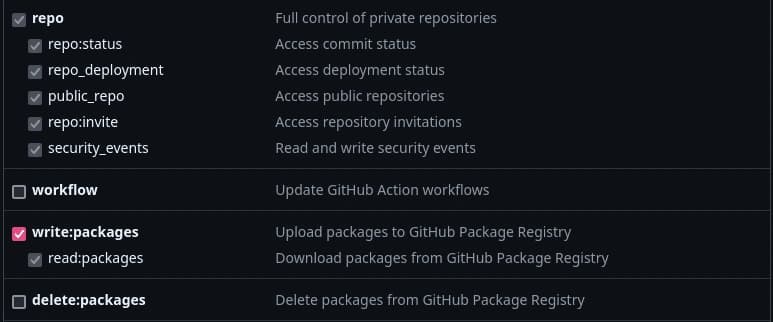
Token Scopes Checkboxes
Check the write:packages checkbox. This will allow us to push new Docker
images and also let Coolify pull the newly built image.
Next, set the note and expiration date— you can choose any duration you want. GitHub will notify you when it’s time to renew if the token expires.
Click Generate Token. Be sure to copy the token and save it somewhere safe, as you won’t be able to view it again after leaving the page. (We’ll need this token in later steps).
- Save the newly generated token to your repository secrets —this way, the workflow file can access the token directly from your repository.
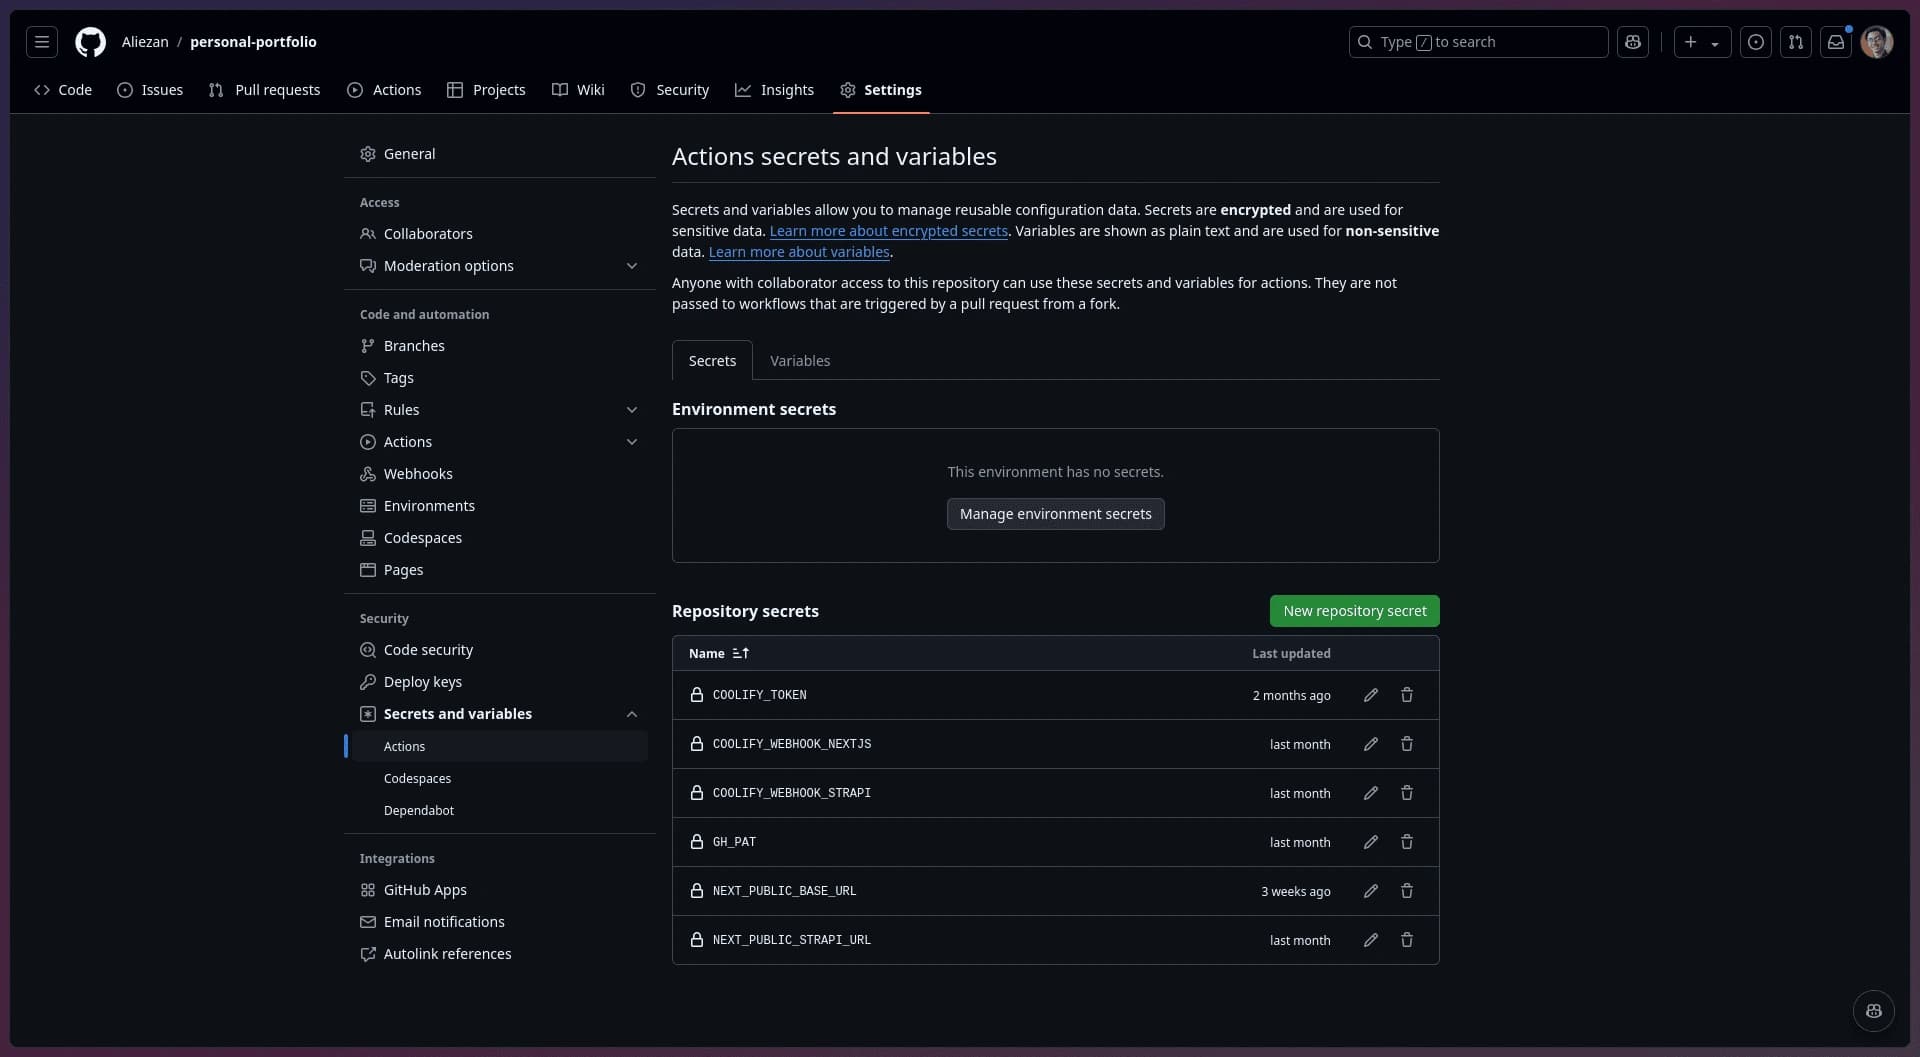
Repository Settings Page
You can do this by going to Repository Settings > Secrets and Variables > Actions > New repository secret.
Here, you can set the name of the token (you can name it whatever you like). Then, paste your newly generated token into the Secrets field.
Once these steps are complete, we can move on to the next step: creating a workflow file.
- Create a .yml workflow file inside
.github/workflows— you can named it anything you want! (i suggest clearer name likebuild.yamlordeploy.yaml)
Here's my build.yml for this portfolio web with Nextjs accompanied by Strapi CMS:
name: CI/CD

on:
  push:
    branches:
      - master

env:
  REGISTRY: ghcr.io
  IMAGE_NAME_1: "aliezan/personal-portfolio"
  IMAGE_NAME_2: "aliezan/personal-portfolio-strapi"

jobs:
  amd64:
    runs-on: ubuntu-latest
    permissions:
      contents: read
      packages: write
    steps:
      - uses: actions/checkout@v3
      - name: Login to ghcr.io
        uses: docker/login-action@v2
        with:
          registry: ${{ env.REGISTRY }}
          username: ${{ github.actor }}
          password: ${{ secrets.GH_PAT }}

      - name: Build and push nextjs image
        uses: docker/build-push-action@v4
        with:
          context: .
          file: Dockerfile
          platforms: linux/amd64
          push: true
          tags: ${{ env.REGISTRY }}/${{ env.IMAGE_NAME_1 }}:latest
          build-args: |
            NEXT_PUBLIC_STRAPI_URL=${{secrets.NEXT_PUBLIC_STRAPI_URL}}
            NEXT_PUBLIC_BASE_URL=${{secrets.NEXT_PUBLIC_BASE_URL}}

      - name: Build and push strapi image
        uses: docker/build-push-action@v4
        with:
          context: ./strapi-blog
          file: strapi-blog/Dockerfile.prod
          platforms: linux/amd64
          push: true
          tags: ${{ env.REGISTRY }}/${{ env.IMAGE_NAME_2 }}:latest
Important note: you can edit your image name. If you’re deploying multiple images to the container registry, feel free to adjust the names as needed. But the convention suggests the image name format is "author_name/repository". Just keep in mind not to change the registry name, as ghcr.io is the default domain for GitHub Container Registry.
Pay attention to the branch field. This field determines which branch will trigger the GitHub Actions. For example, mine is set to "master," which makes sense since I only want to trigger actions in a production environment.
Also, update the password field in the "Login to ghcr.io" step. Adjust it to match the name of your repository secret that contains your token. For example, mine is GH_PAT, so I access it as secrets.GH_PAT.
Another thing to pay attention to is the location of your project and Dockerfile. For example, if your Next.js app and Dockerfile are in the root folder, the context field should be "." and the file field should be "Dockerfile". This is because both are in the root folder, and the Dockerfile is named "Dockerfile."
Step 3: Push new changes to the repo
After everything is properly configured and tested, it’s time to push all of our work to the repo. GitHub Actions will automatically evaluate your workflow file and run the configured steps when you push to the specified branch. If you're curious, here's what actually happens in this workflow:
- Environment Setup: Sets variables for the GitHub Container Registry and image names.
- Permissions: Grants the workflow read access to the repository and write access to GitHub packages.
- Checkout Code: Pulls the repository code so the workflow has access to our files.
- Login to GitHub Container Registry: Authenticates using a personal access token (
GH_PAT) so it can push Docker images. - Build and Push Docker Images: Builds the Docker Image. The images are then tagged and pushed to GitHub Container Registry.
With this setup, any new push to master will build and deploy the latest version of both images, keeping your environment updated and deployment-ready. Before moving on to the next step, make sure the workflow completes successfully. If any errors occur, GitHub Actions will display them like this:
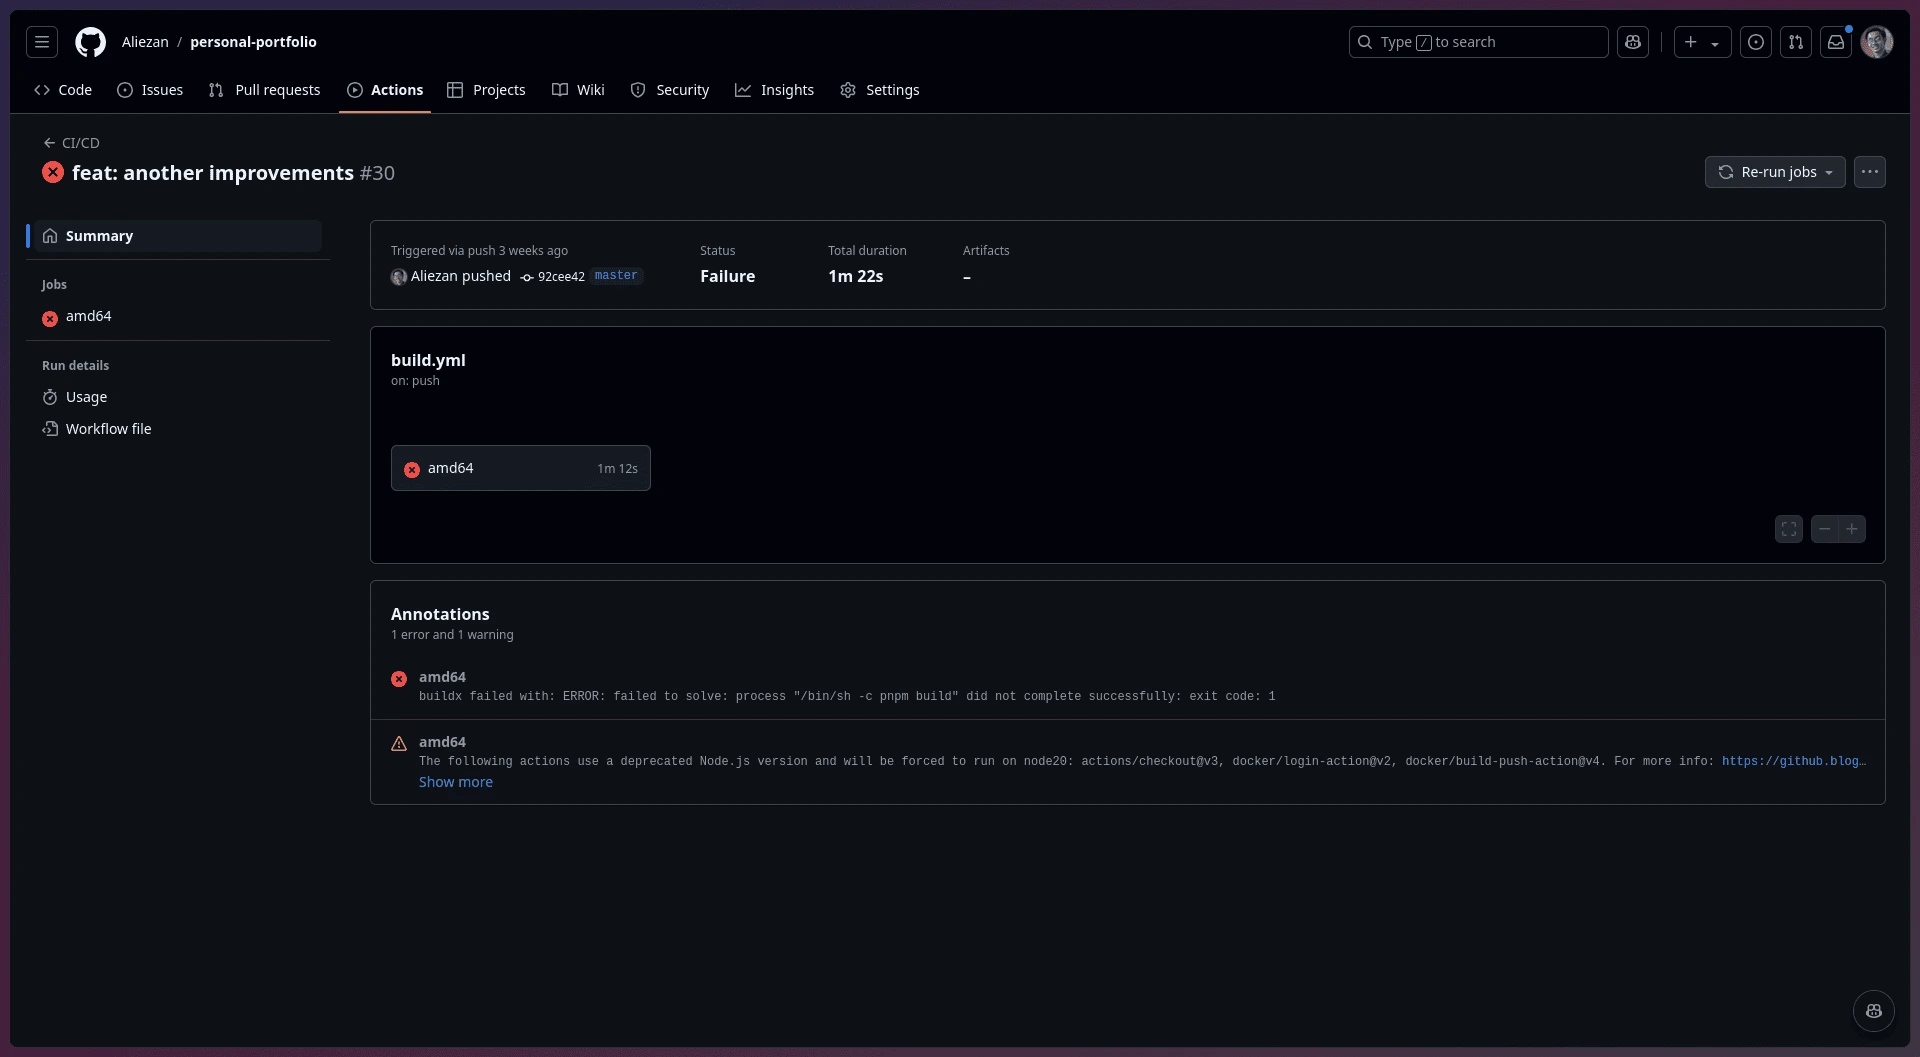
Failure workflow on Github Actions
If this happens, resolve the error first. If you’re unsure, GitHub Actions logs the error in the build log, so you can trace and fix it before moving on.
Once completed successfully, this workflow will create a package (Docker image) hosted in the GitHub Container Registry. You can view it in the Packages tab under Profile > Packages.
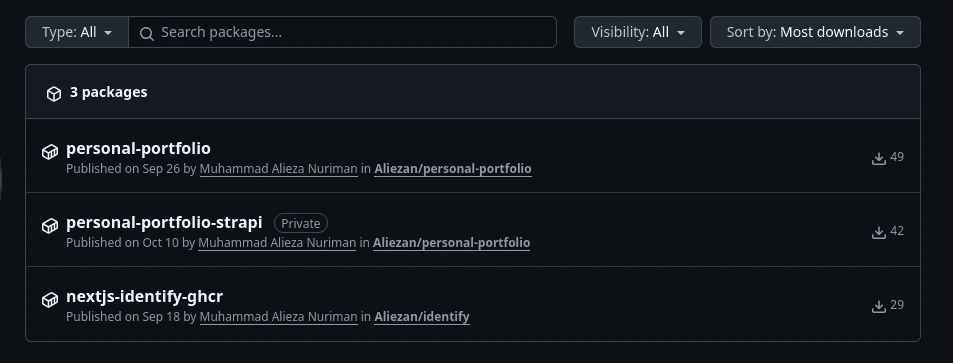
Github Packages Tab
The package name will match what you set earlier in the workflow file. By default, the package visibility is private. Once you’ve reached this step, we can move on to the deployment process in the Coolify dashboard.
Step 4: Configure the deployment in Coolify Dashboard
Access your Coolify dashboard, then go to Projects tab
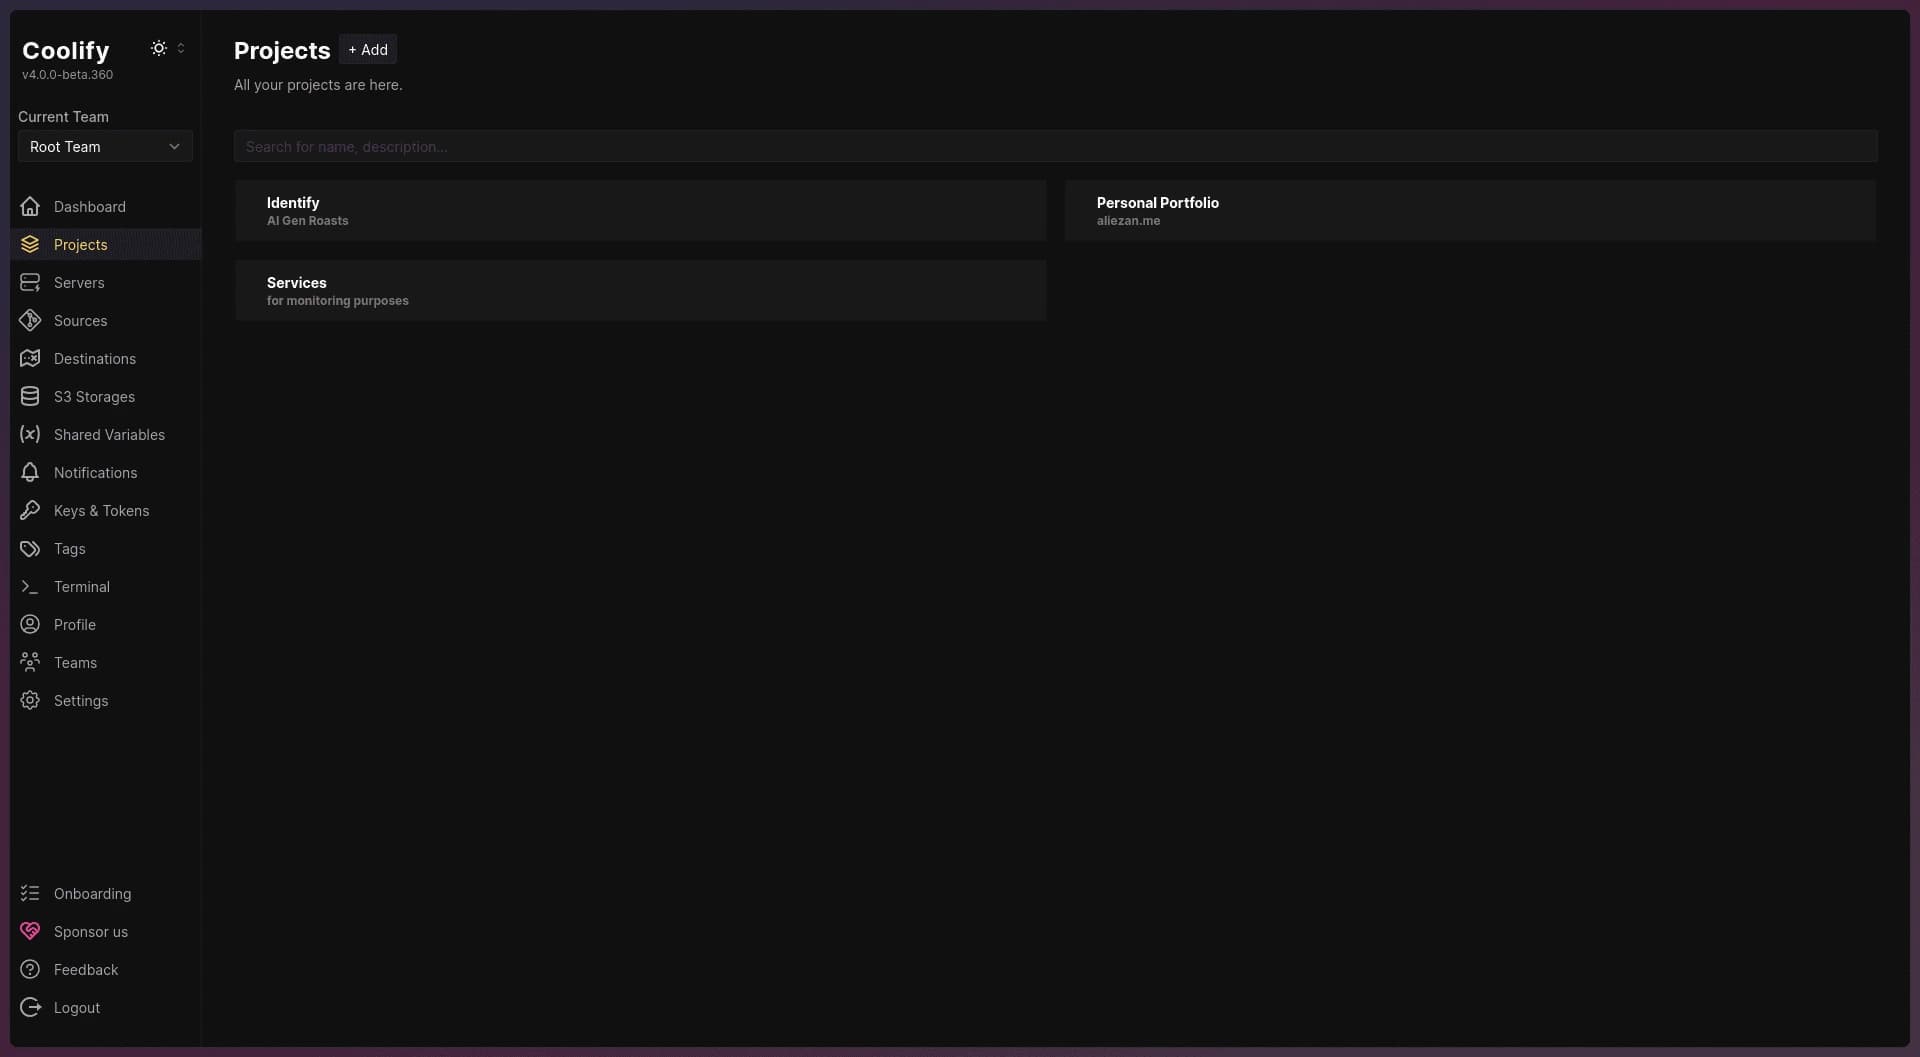
Coolify projects tab
- Add a New Project: Click the + Add button to create a new project.
- Enter Project Details: When prompted, enter the project name and description.
- Configure Environment Settings: By default, the environment will be set to "production." Click on "production" to access and configure additional project settings.
- Add a New Resource: After configuring your project, click + Add New Resource to continue setting up resources. Continue through these steps until you reach this page as shown below:
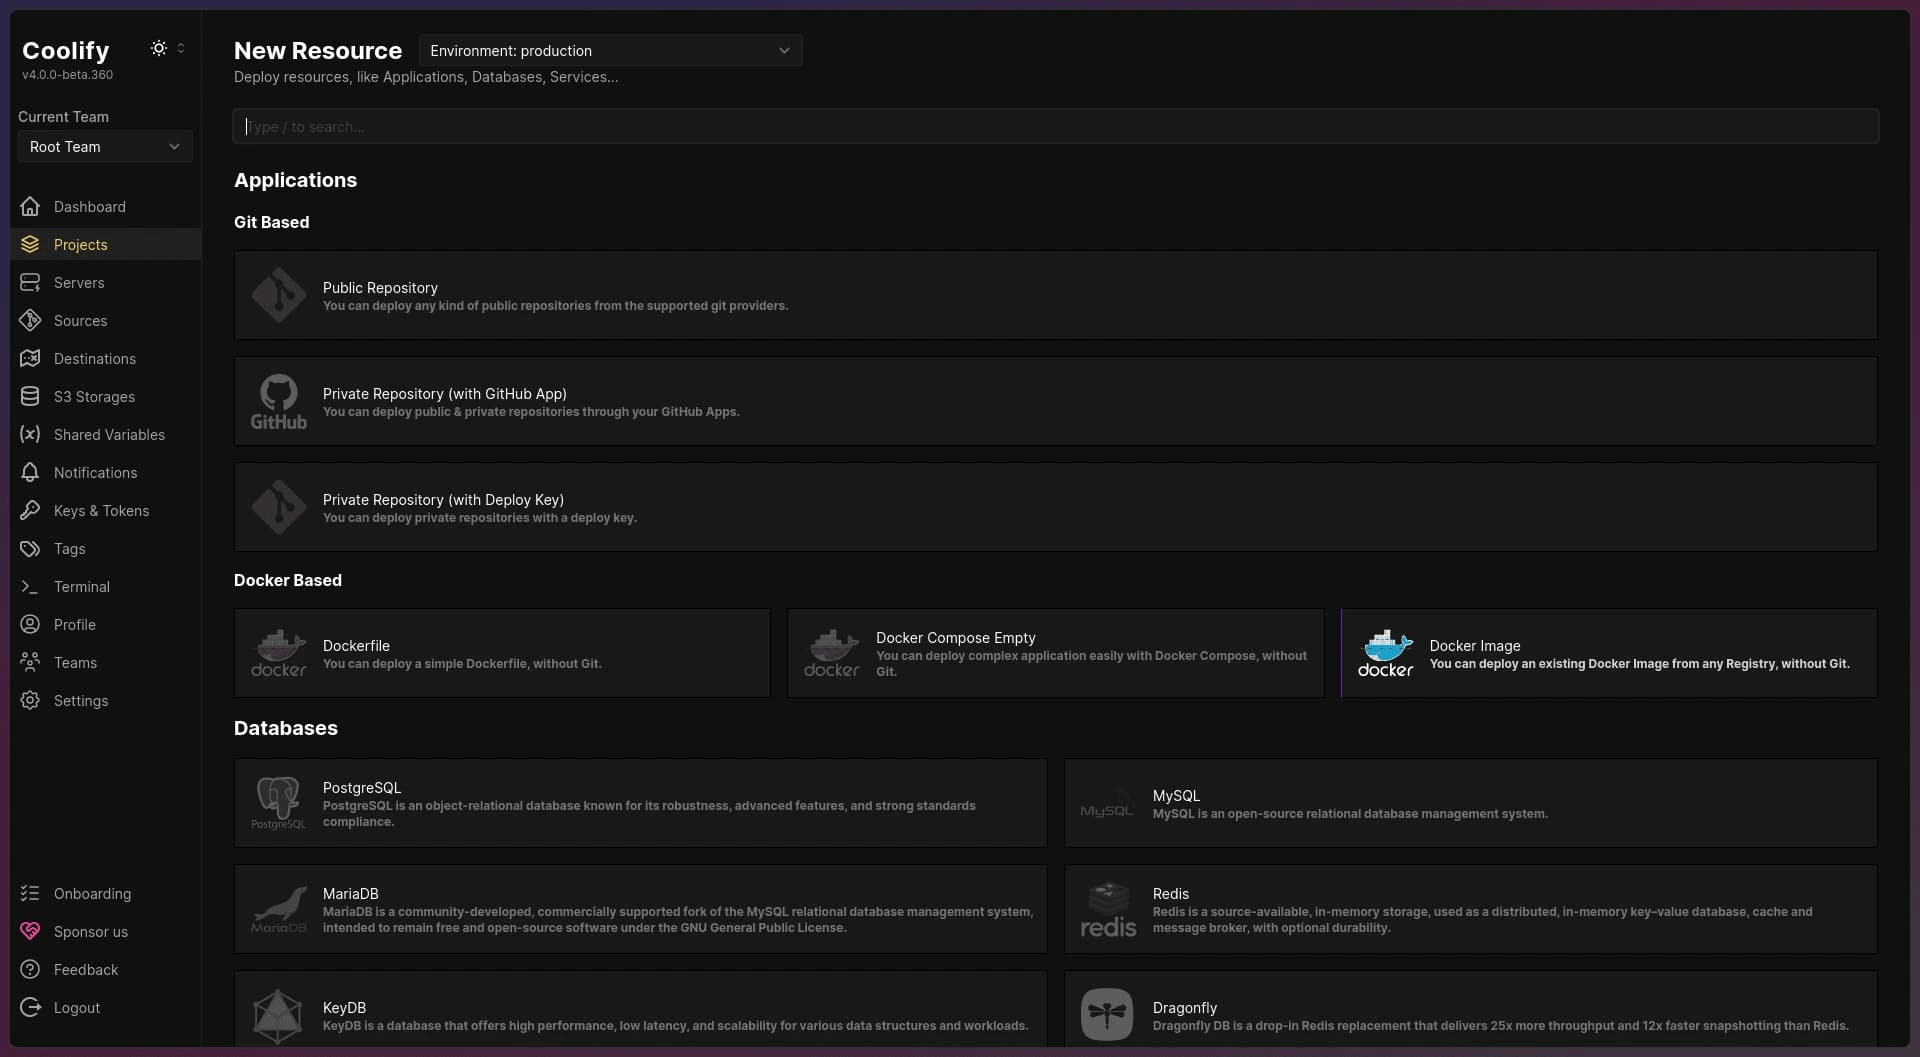
New resource configuration page
-
Select Docker Image: In the Docker Based section, choose the Docker Image option to proceed to the next step.
-
Choose Hosting Server: You’ll be prompted to select the server where you want to host your app. Choose localhost (your VPS where Coolify is installed).
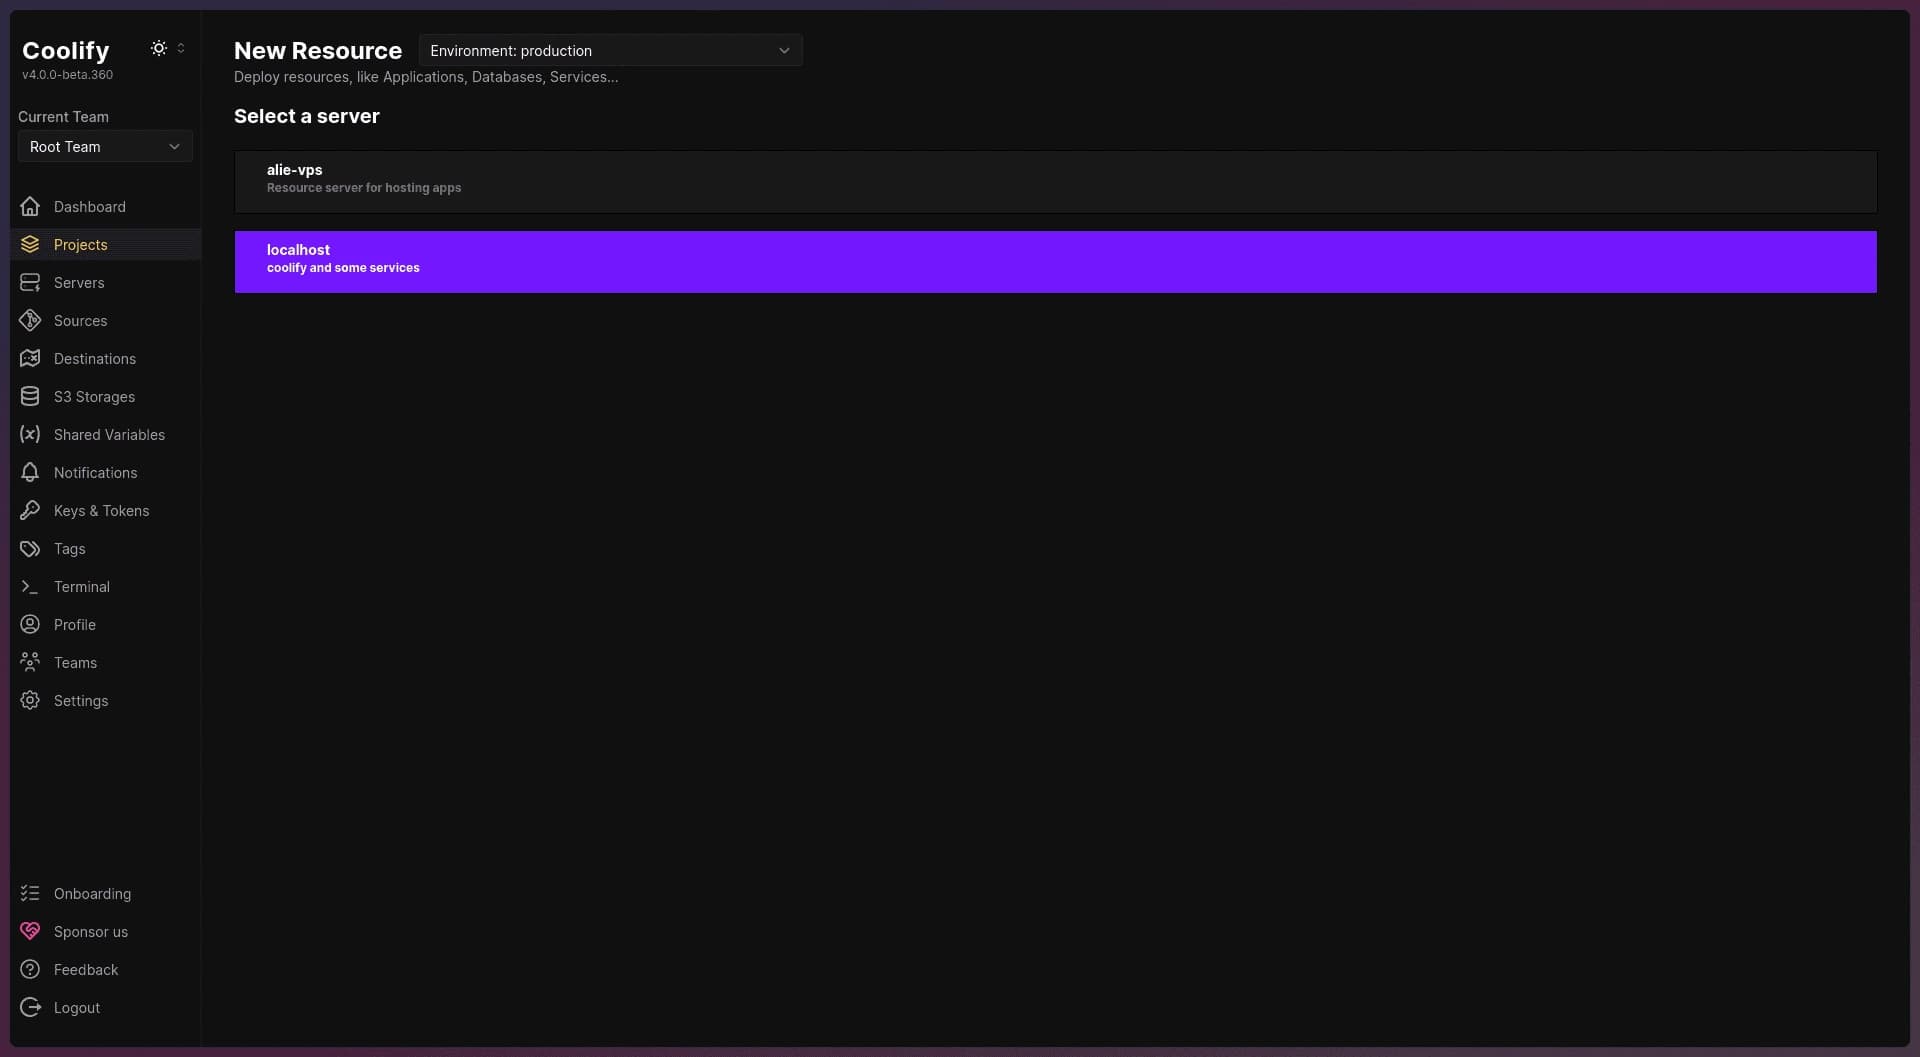
Server selection page
- Enter Image Name: After selecting the server, enter the name of your Docker image.
- Find Image Name on GitHub (if needed): If you’re unsure of the image name, you can find it under the Packages tab in your GitHub profile.
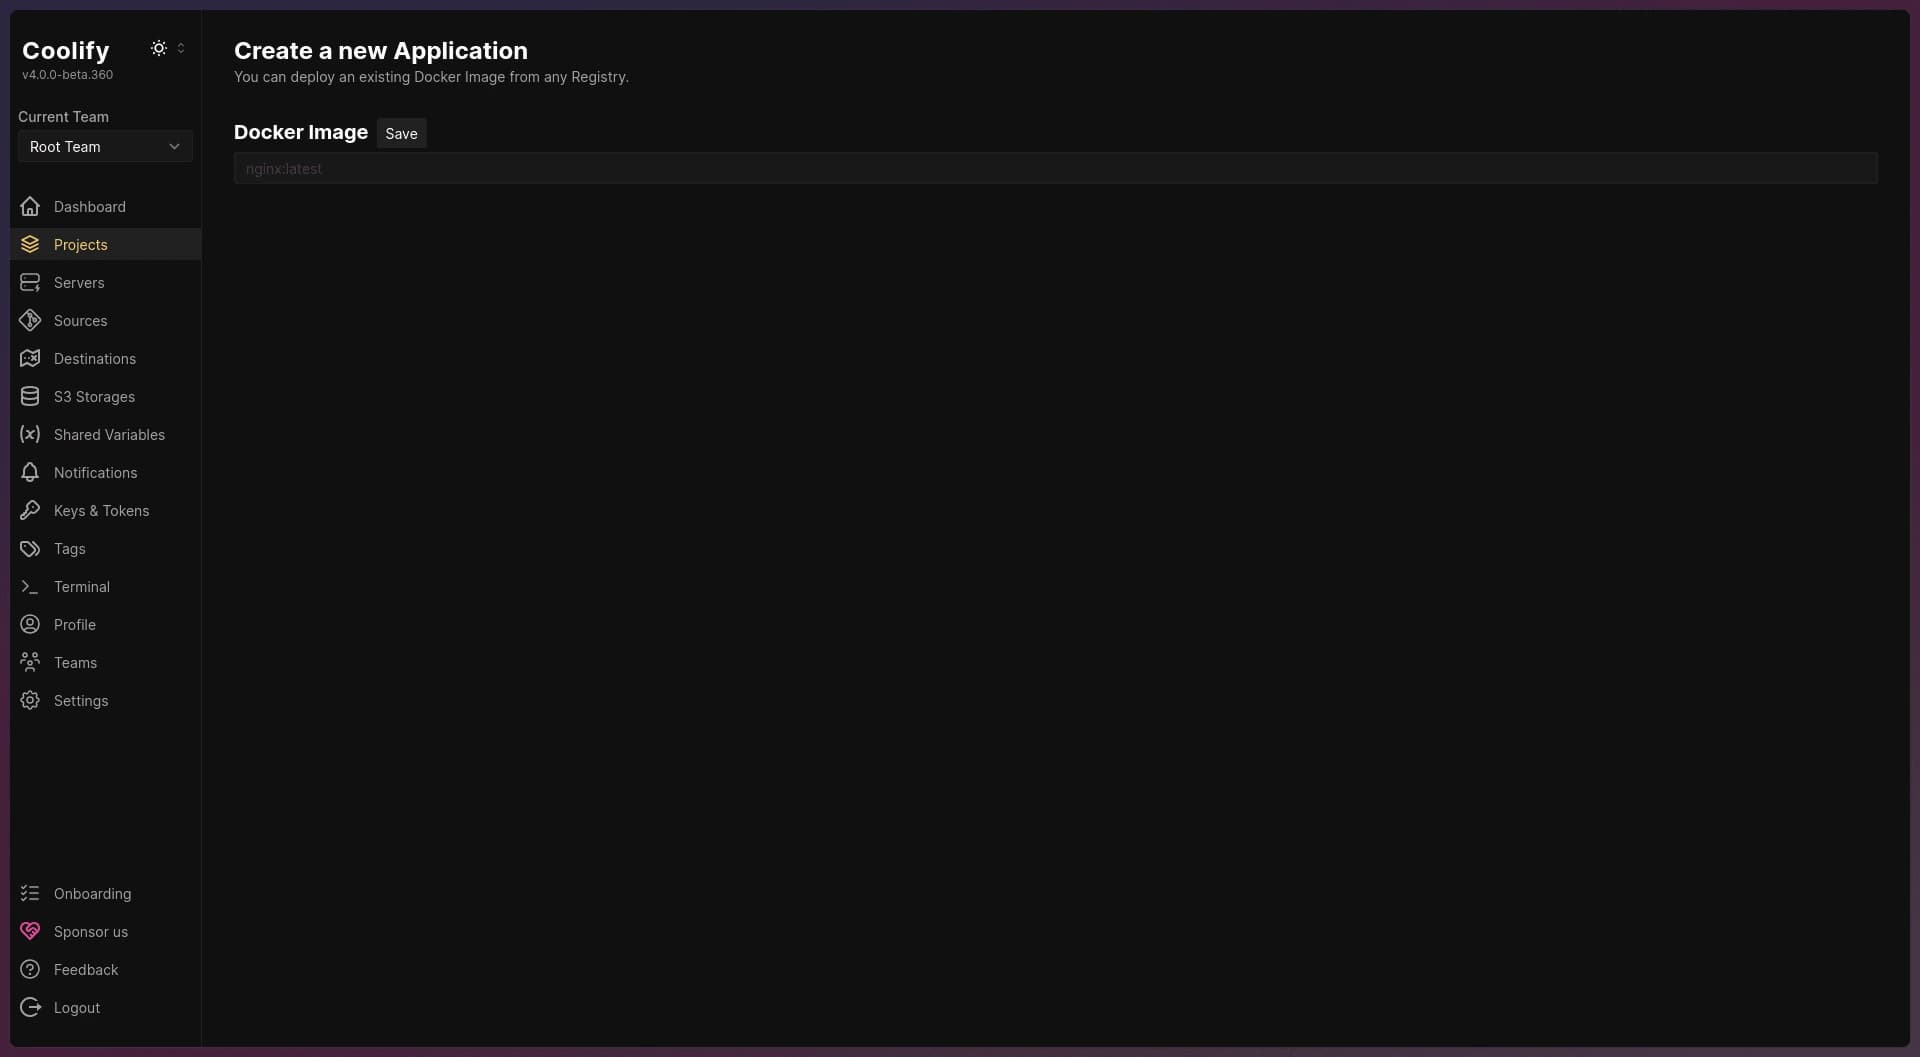
Docker Image field in Coolify
To pull the image from the GitHub Container Registry, format it as ghcr.io/image_name:tag. You can refer to the workflow file you created previously for the exact image name and tag.
Since my image name is aliezan/personal-portfolio, the full registry path will be:
ghcr.io/aliezan-personal-portfolio:latest
Before proceeding with deployment in Coolify, you’ll need to pass the Personal Access Token (PAT) you created earlier to your VPS. This token is necessary for authenticating Coolify with GitHub Container Registry (GHCR) so that it has the authorization to pull the image.
Why is this important?
The Docker image you built and pushed to GHCR is private, which helps prevent unauthorized access to your work—especially if it's in a private repository. Keeping the image private ensures only authorized users (in this case, Coolify). To set this up, simply access your server terminal and run the following command (without the angle brackets):
docker login --username <GITHUB_USERNAME>
--password <PERSONAL_ACCESS_TOKEN> ghcr.io
If successful, your terminal will display "Login Succeeded", indicating that Coolify is now authorized to pull images from GHCR.
Next, configure the pre-deployment settings on the project configuration page. This includes specifying your app’s domain and the port it exposes in Docker. Since Coolify uses Traefik as a reverse proxy, there’s no need for manual configuration—just enter the domain and port in their respective fields. (For example, if your Next.js app’s default port is 3000, set the port to 3000.) Keep in mind to save your changes!
For other settings like environment variables, you can add these as needed based
on your app’s requirements.
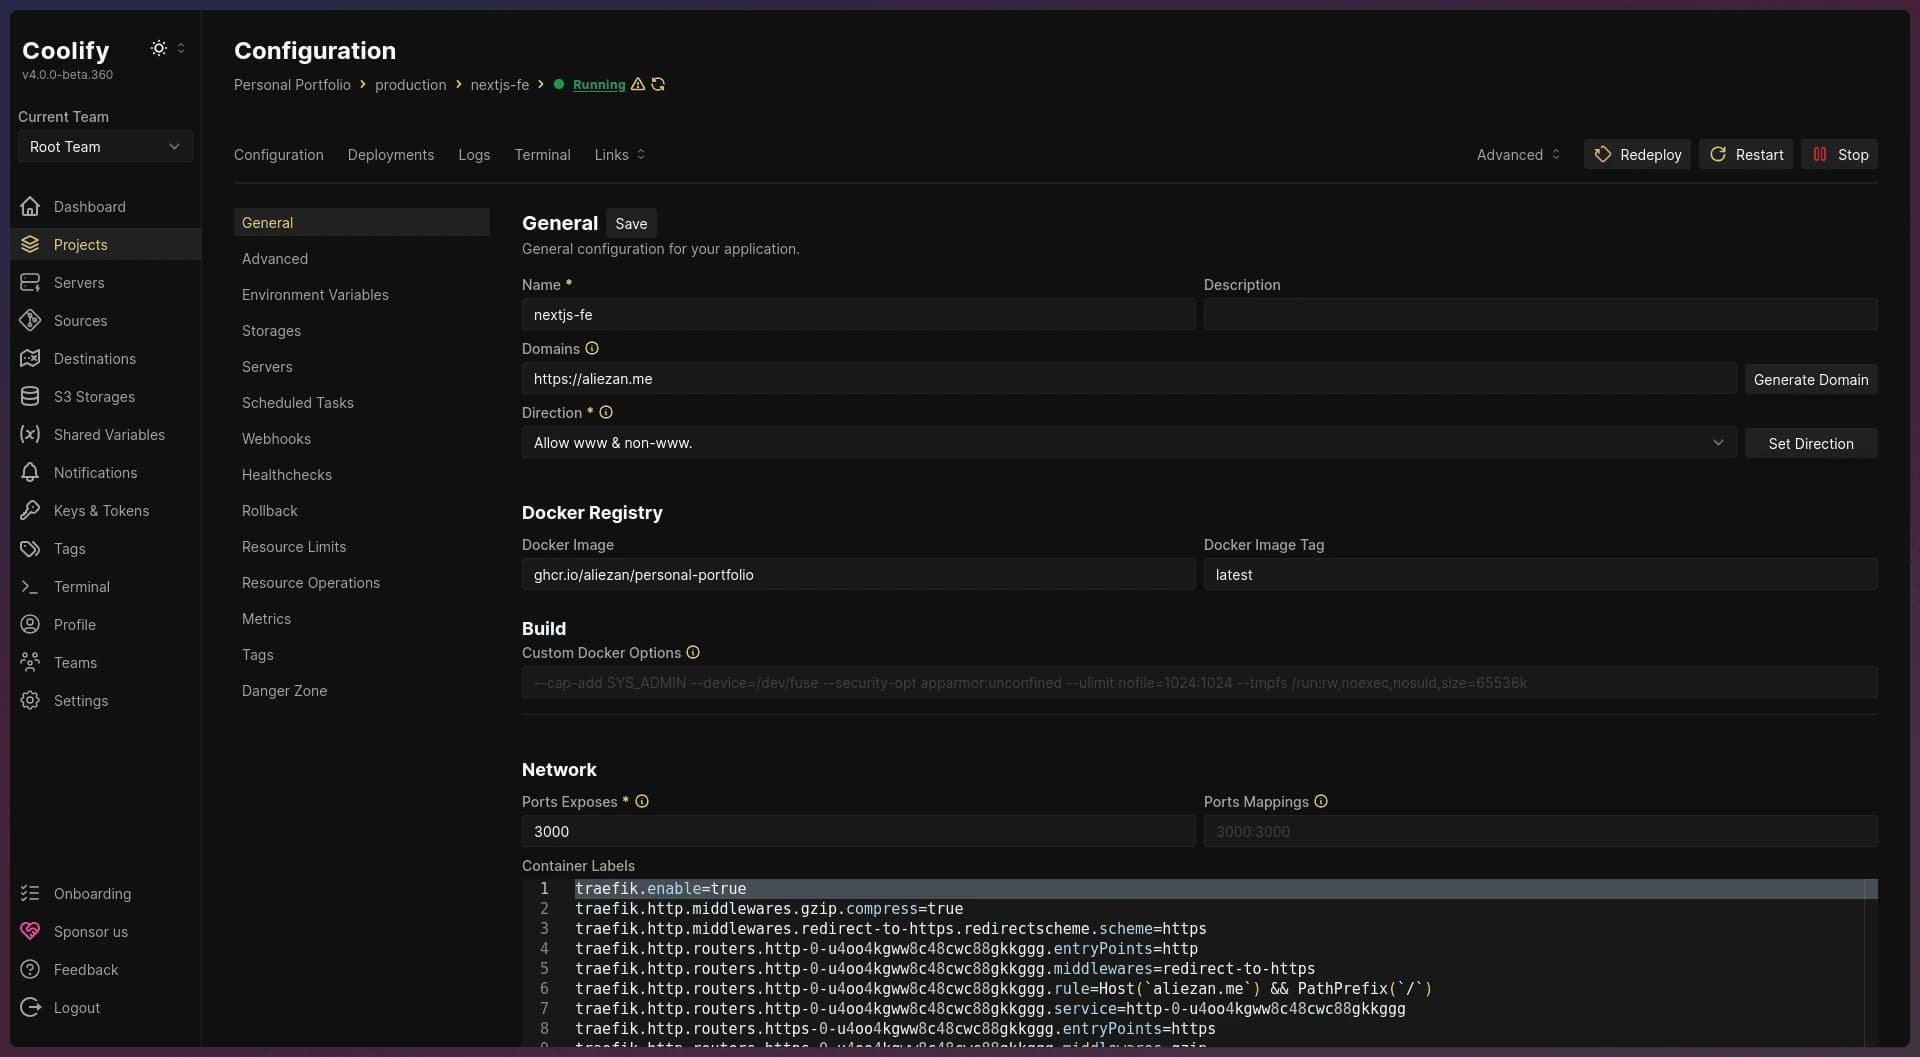
Coolify project configuration page
Once you’ve finished configuring the pre-deployment settings, click Deploy to start the deployment process. Important things to note:
- Monitor the Logs: Sometimes, if there’s a misconfiguration, an error may occur. Checking the logs can help you identify the issue.
- Verify the Deployment Link/Domain: Traefik will automatically return a 404 error if something is misconfigured. Besides checking the logs, you can also use your terminal to inspect your Docker containers, as Coolify automatically spins up a container after pulling the image from GHCR.
If everything is configured correctly, your app should now be running on your domain!
Final Step:
Next, we’ll set up CI/CD automation in Coolify to streamline future deployments.
Last Step: Configuring CI/CD
Reopening the Coolify Dashboard every time you make changes in your repository can be a hassle. Fortunately, Coolify offers webhooks, which can work seamlessly with the GitHub Actions workflow you set up earlier. Setting them up is straightforward and will automate the deployment process for you.
Here are the steps:
- Generate an API Token: Go to Keys & Tokens > API Tokens and create a new token. Since the webhook requires bearer authentication, you’ll need this token.
- Set Permissions: Ensure root access is selected for permissions.
- Save the Token: Be sure to copy and save the token immediately after generating it, as you won’t be able to view it again later.
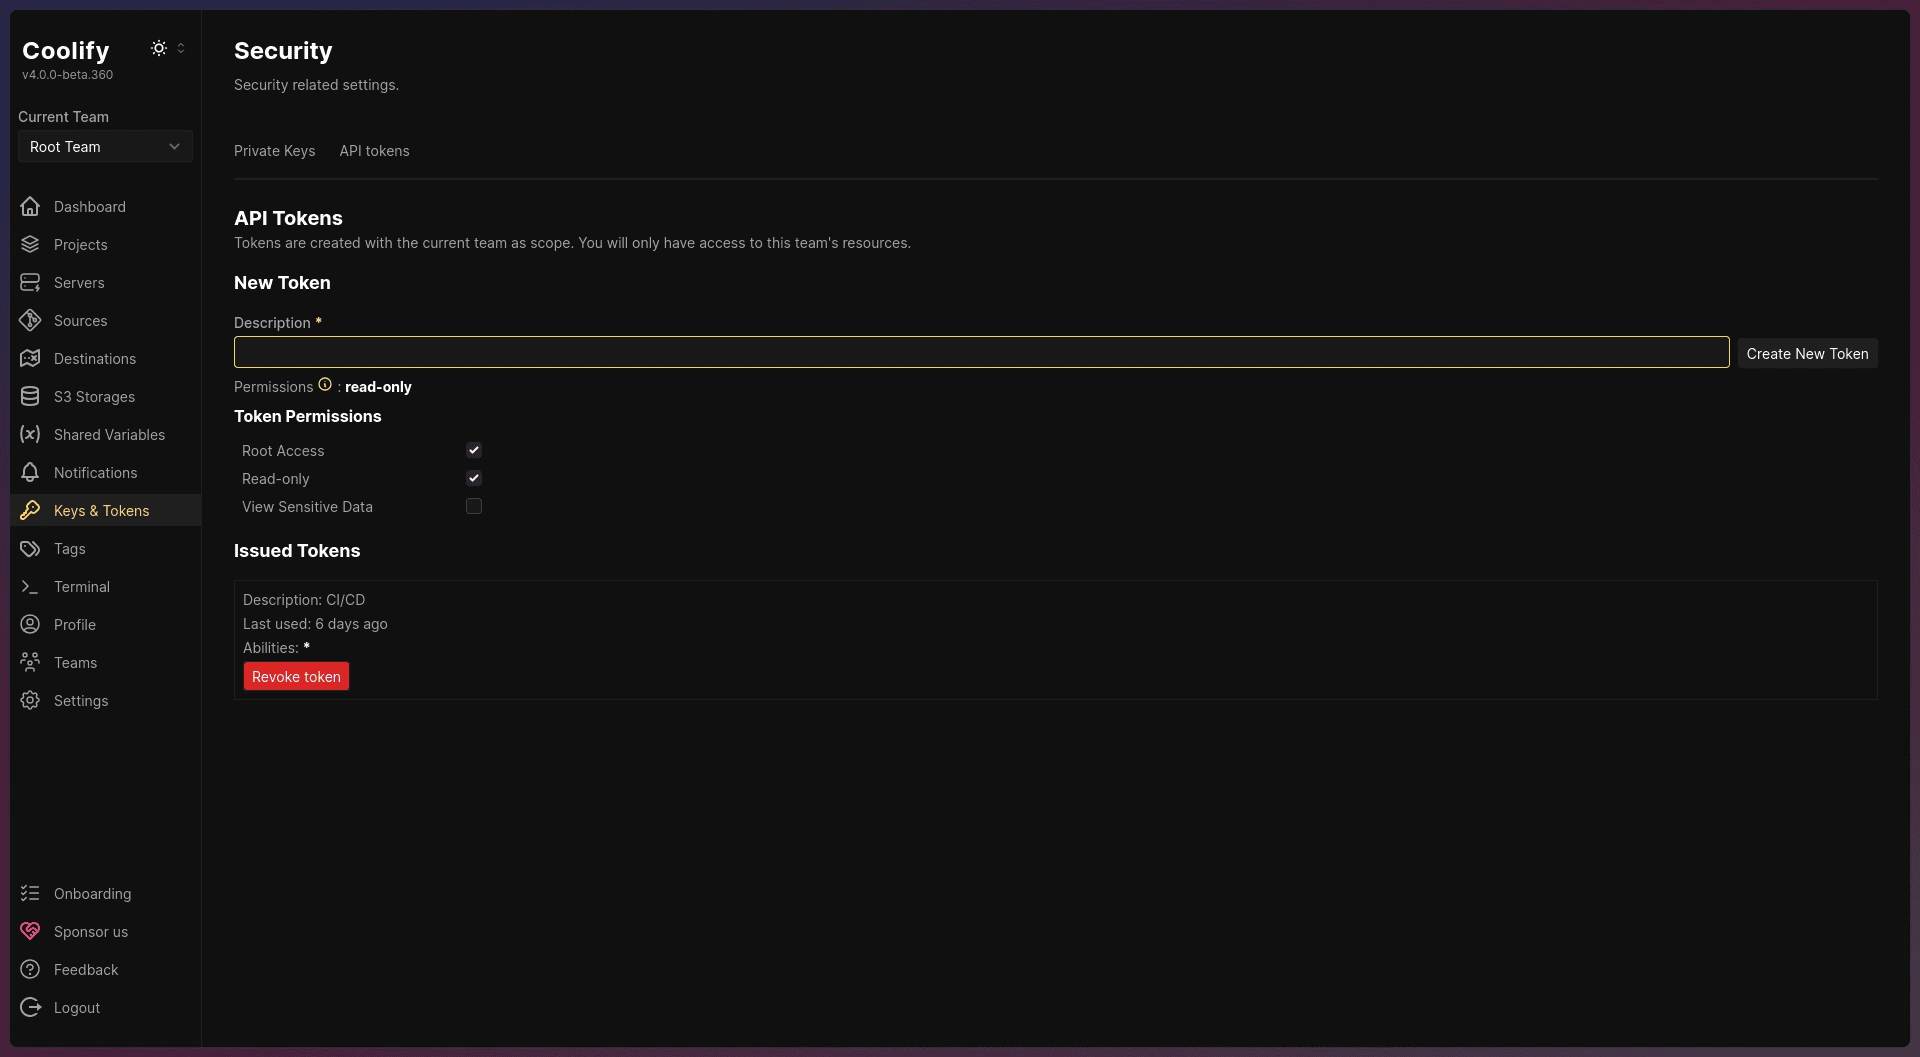
Keys & Token page
After generating the token, return to your project’s configuration page and go to the Webhooks tab. Here, you can copy the webhook URL.
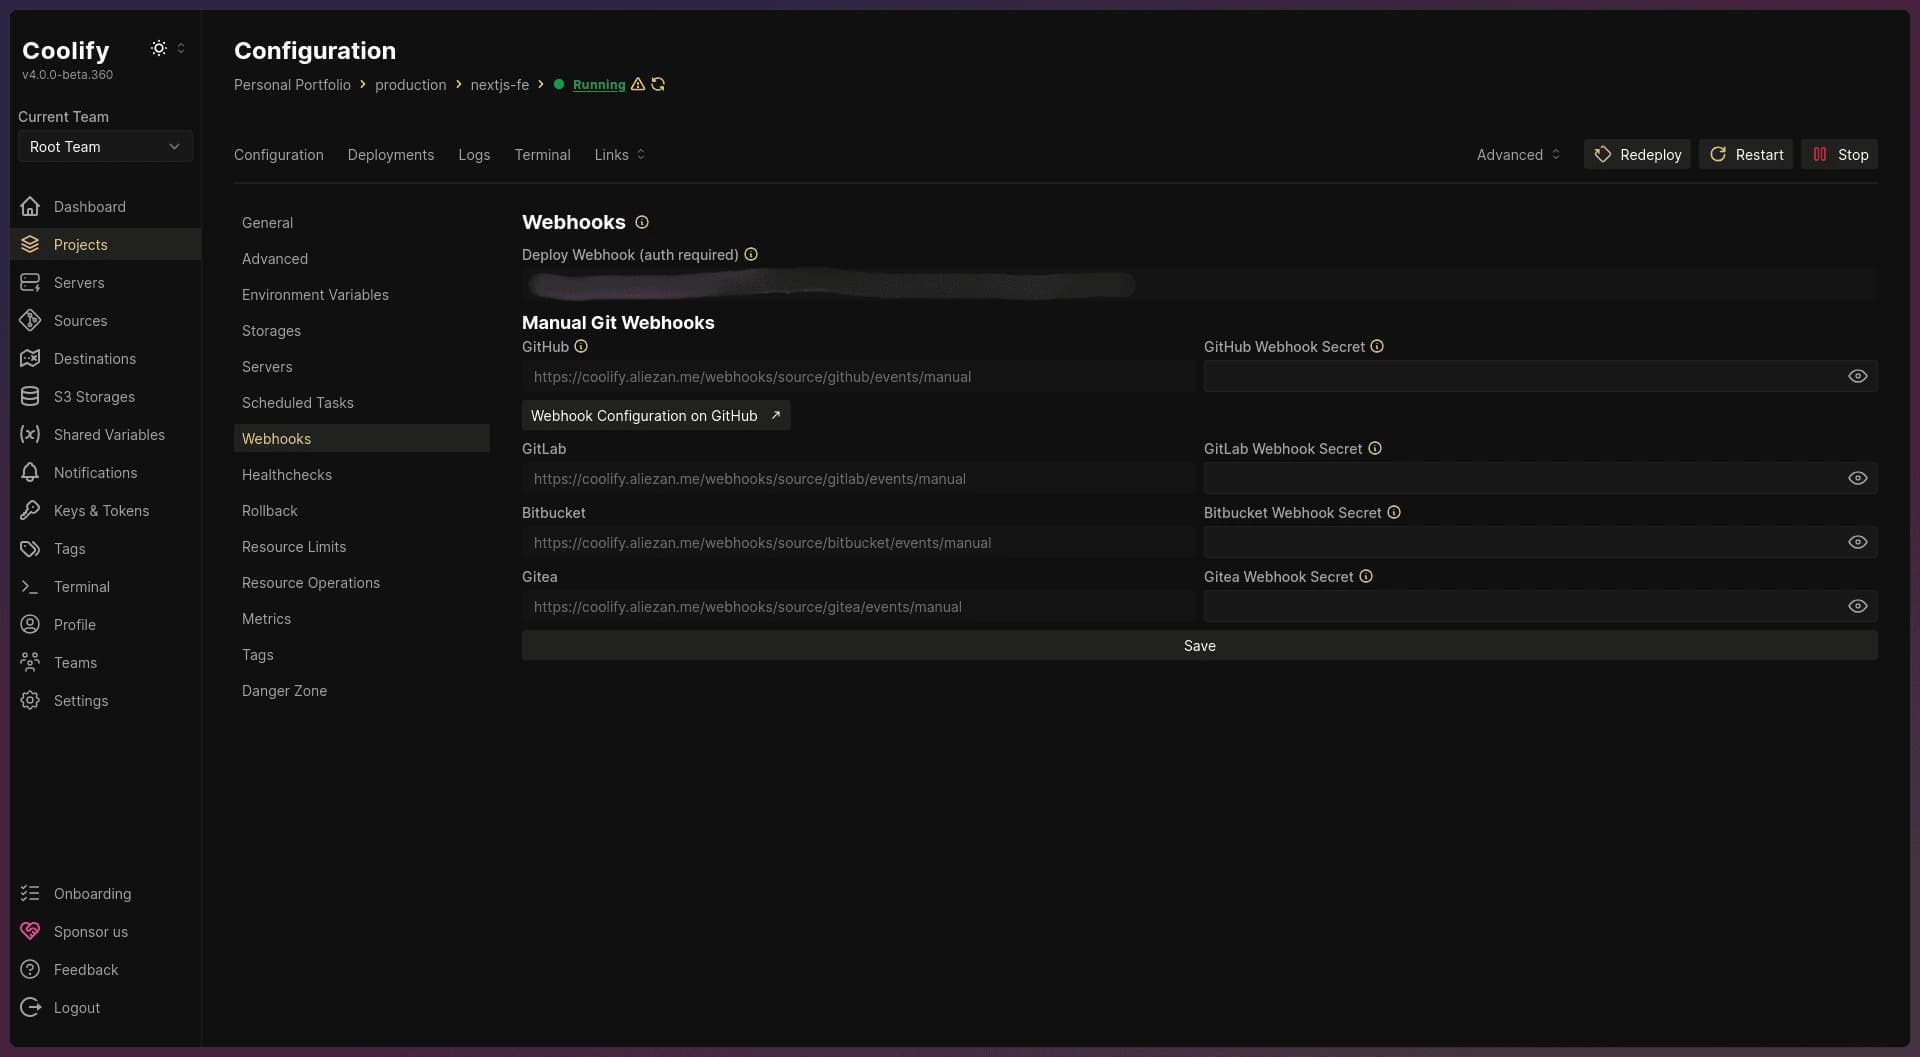
Webhooks page - Coolify
With the API Token and Webhook URL in hand, add them to your repository’s secrets. It’s best to give them clear names (e.g., COOLIFY_TOKEN and COOLIFY_WEBHOOK) so they can be easily referenced in your workflow file later.
After adding the secrets to your repository, it’s time to update the workflow file to include a deployment step. This will instruct the GitHub Action worker to send a GET request to trigger redeployment on Coolify. Here’s the code to add:
- name: Deploy to Coolify (nextjs-fe)
        run: |
          curl --request GET '${{ secrets.COOLIFY_WEBHOOK_NEXTJS }}' \
               --header 'Authorization: Bearer ${{ secrets.COOLIFY_TOKEN }}'
By setting up this workflow step, each time the workflow runs, GitHub Actions will automatically notify Coolify to redeploy your app, keeping it up to date with your latest changes.
To check the CI/CD process that you added to your workflow file, you can push new changes to the repo, then you can monitor the logs in the Actions tab in your repo.

Github Actions workflow log
The 200 response from Coolify confirms that the deployment process was successful. At this stage, Coolify will pull the newly built image from GHCR and deploy it.
To verify the deployment, you can check the Deployments tab on your Coolify project page to confirm that your app has been redeployed.
At this point, you’ve completed the deployment and CI/CD automation setup on your VPS with Coolify! Simple, right? There’s actually so much more to explore within Coolify—features that can further streamline your deployment process. It’s up to you to dive in, try it out, and see how it can enhance your setup.